
Invoices
Review and send an invoice
Summit prepares every invoice your projects need, but never sends one by itself. When an invoice's date comes, it moves to Ready on Invoices and waits for you.
Check the invoice
Open the invoice to see it exactly as your client will. Check:
- the client's name, address and, for a business, VAT number;
- the invoice line and the amount;
- the invoice date (the scheduled date, or today if that has passed) and the due date (the invoice date plus the client's payment terms).
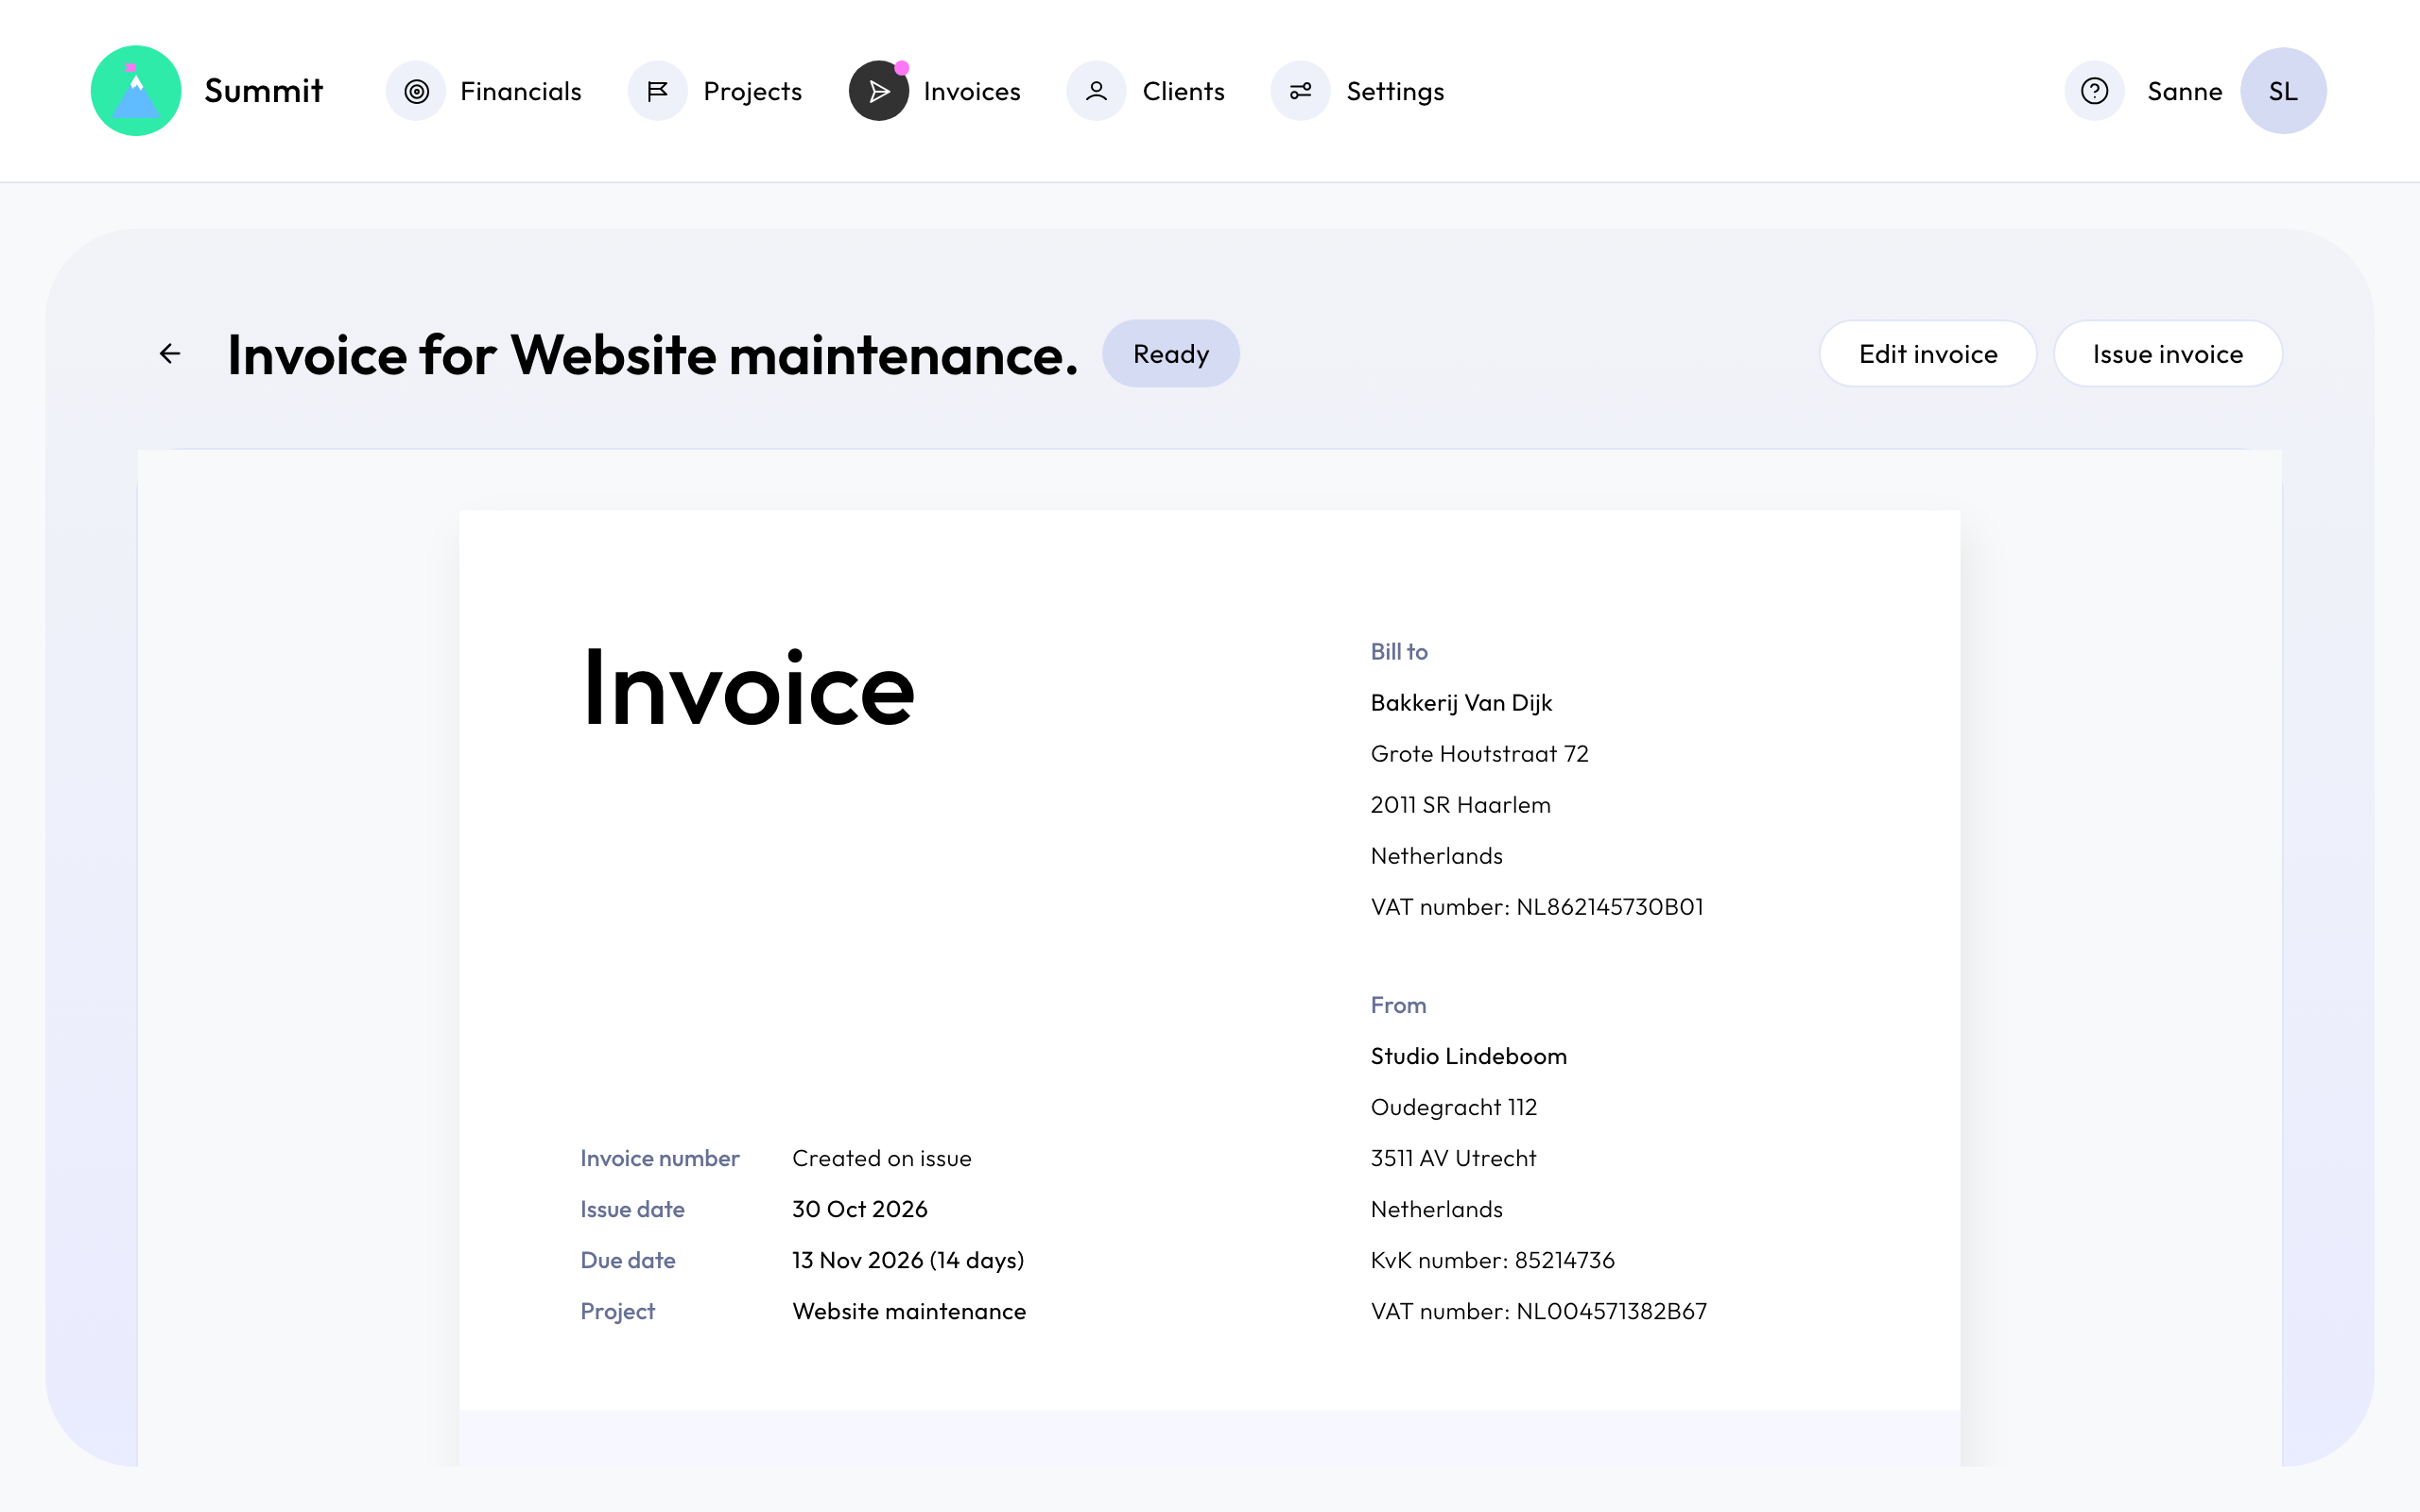
The invoice number shows "Created on issue": it is given when you send the invoice.
Something wrong in the details? Fix it where it comes from: the client, the project, or your company in Settings. The invoice always shows the current details until it's sent.
Add a line
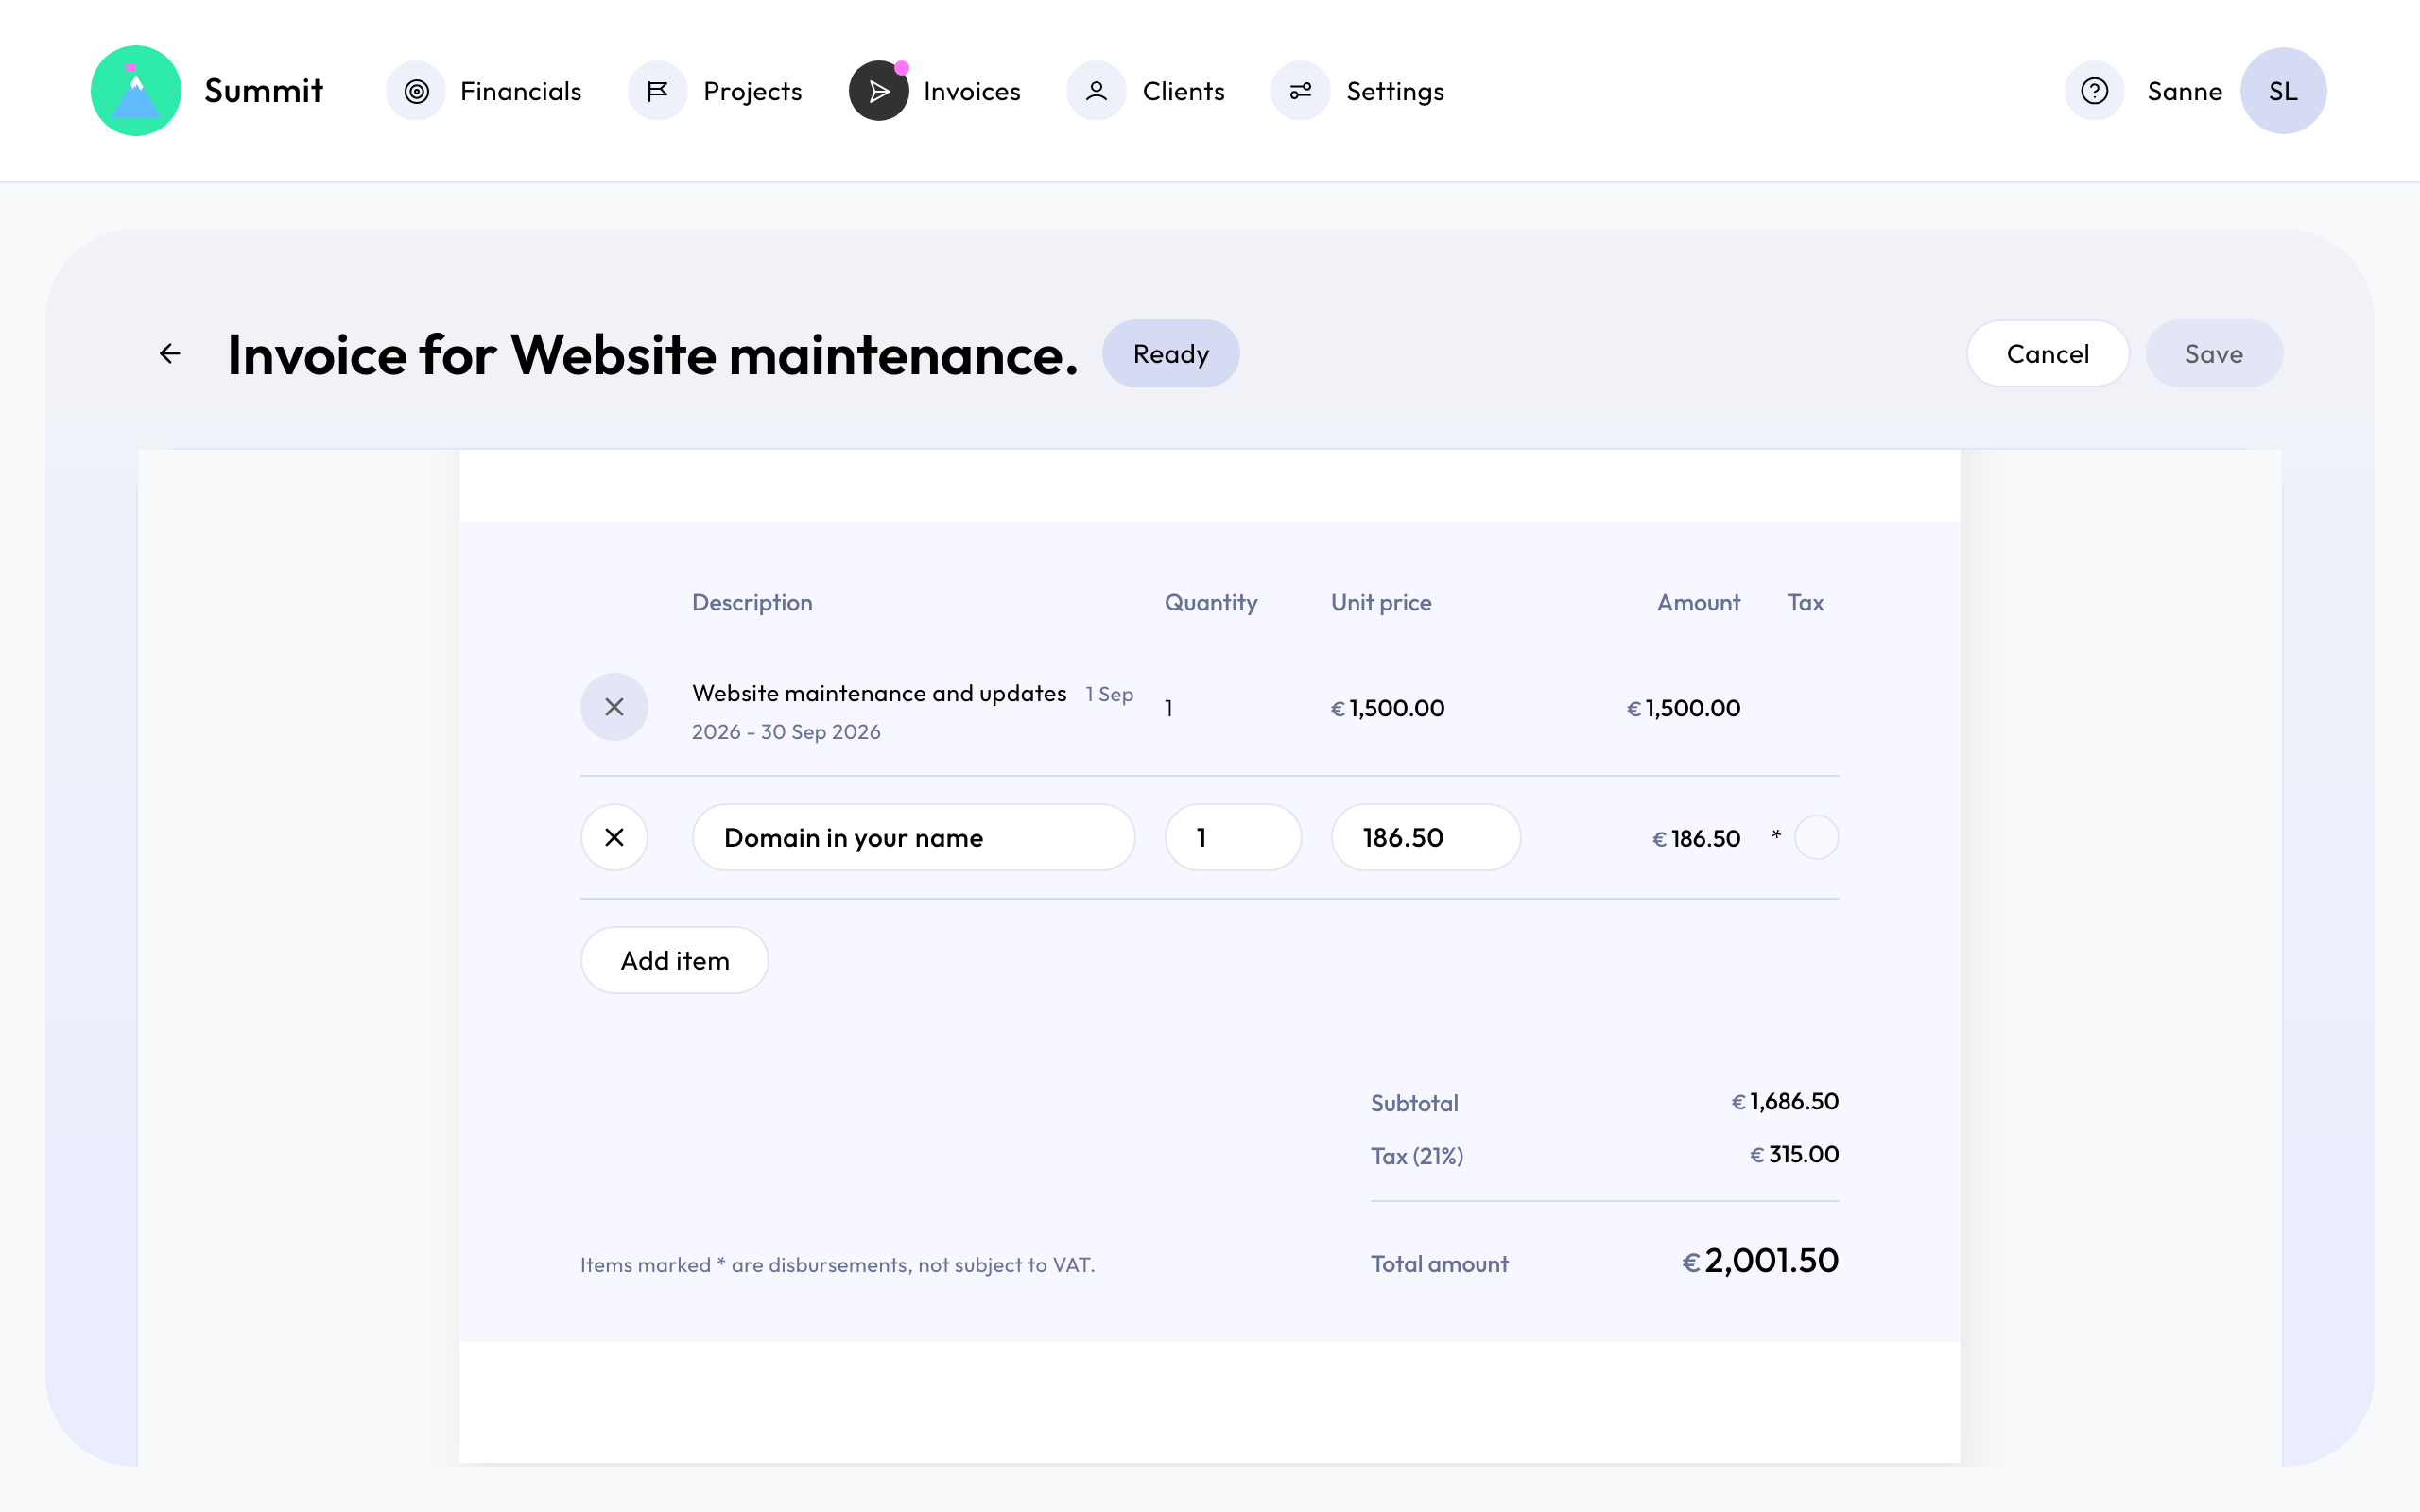
To add travel costs, extra hours or anything else, choose Edit invoice and Add item, then Save. See Add costs you paid for a client.
Send it
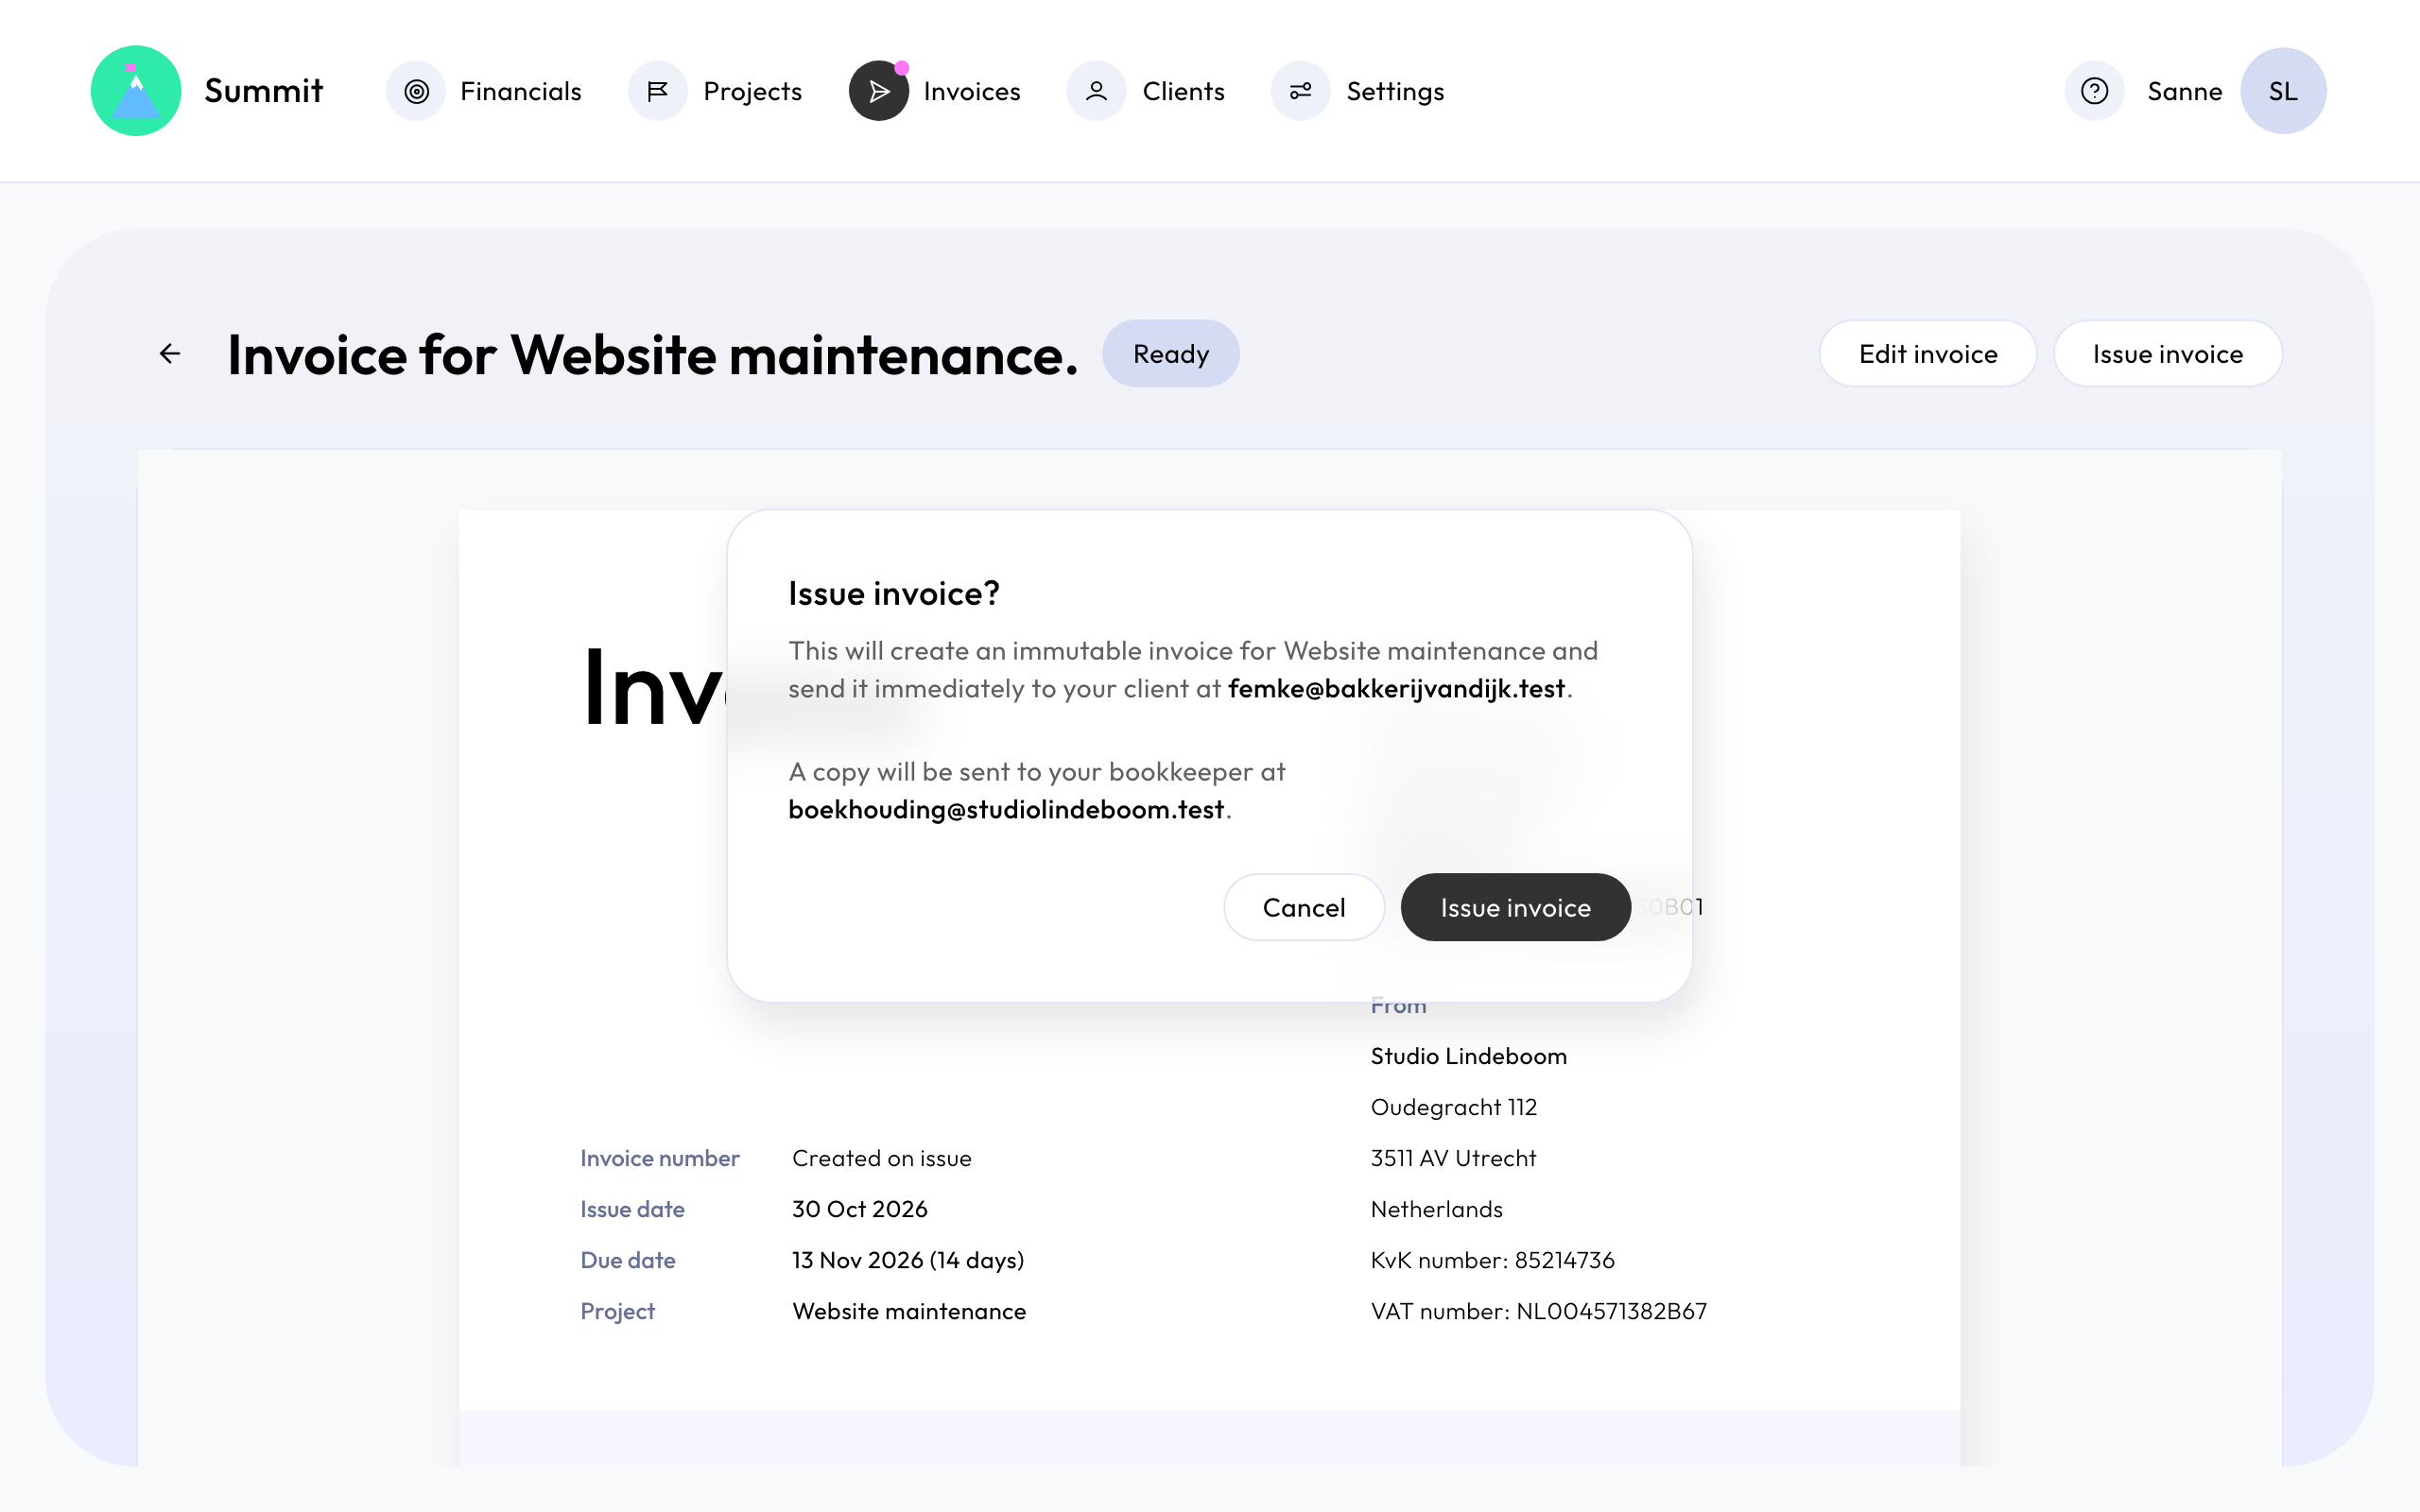
Choose Issue invoice. Summit then:
- gives the invoice the next number in your company's sequence;
- makes the PDF in the client's invoice language, and the UBL file;
- emails the invoice to the client's invoice email address, from Summit's address in your company's name, with replies going to your reply-to address;
- sends a copy to your bookkeeping email address, if you've set one.
Your client gets the PDF, plus the UBL file if they are a business that wants one. See Send invoices as PDF or PDF and UBL.
A sent invoice can't be changed and moves to Issued. Next: Check whether an invoice arrived.