
Getting started
Set up your company
The first time you sign in, Summit guides you through three steps. You can stop at any time and pick up where you left off.
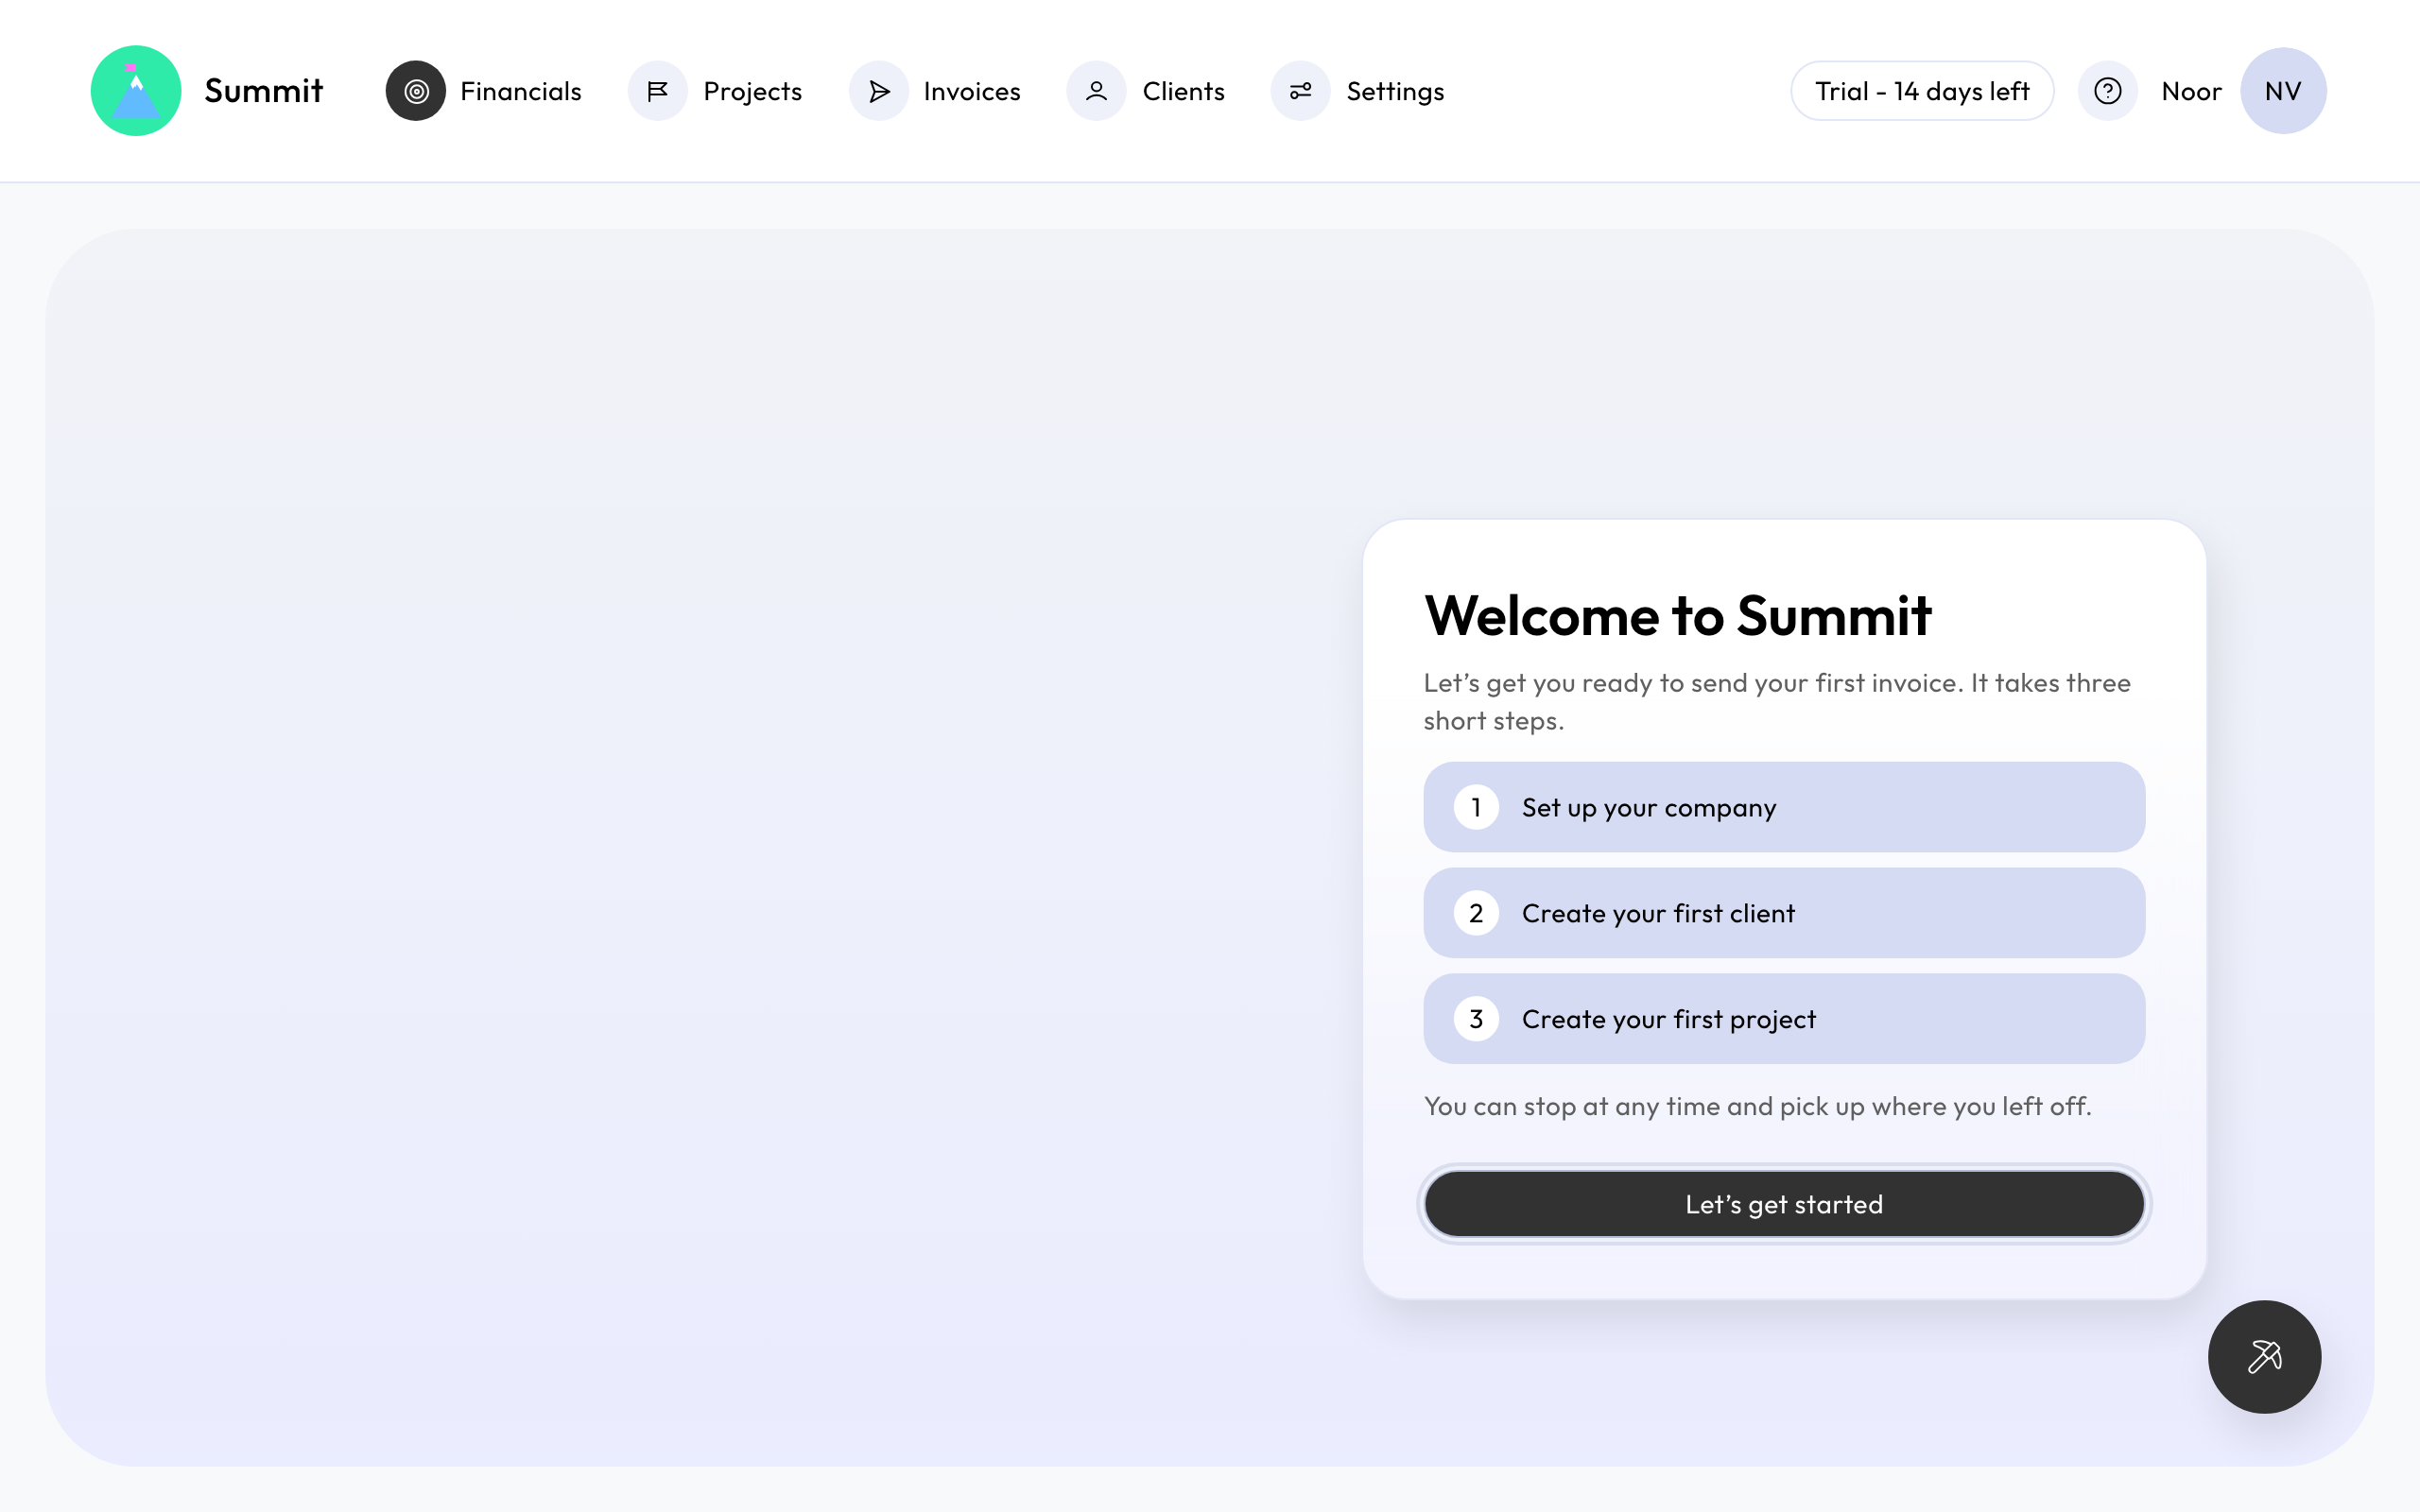
1. Set up your company
Your clients see these details on every invoice, so Summit asks for them first:
- Company basics: your company name, address and country, and your business registration number (the KvK number in the Netherlands) or your VAT number.
- Getting paid: the account name and IBAN your clients pay to.
- Invoice defaults: the email address client replies go to, your currencies and default payment terms, and the language of your invoices. Optionally your bookkeeping email address and an invoice number prefix.
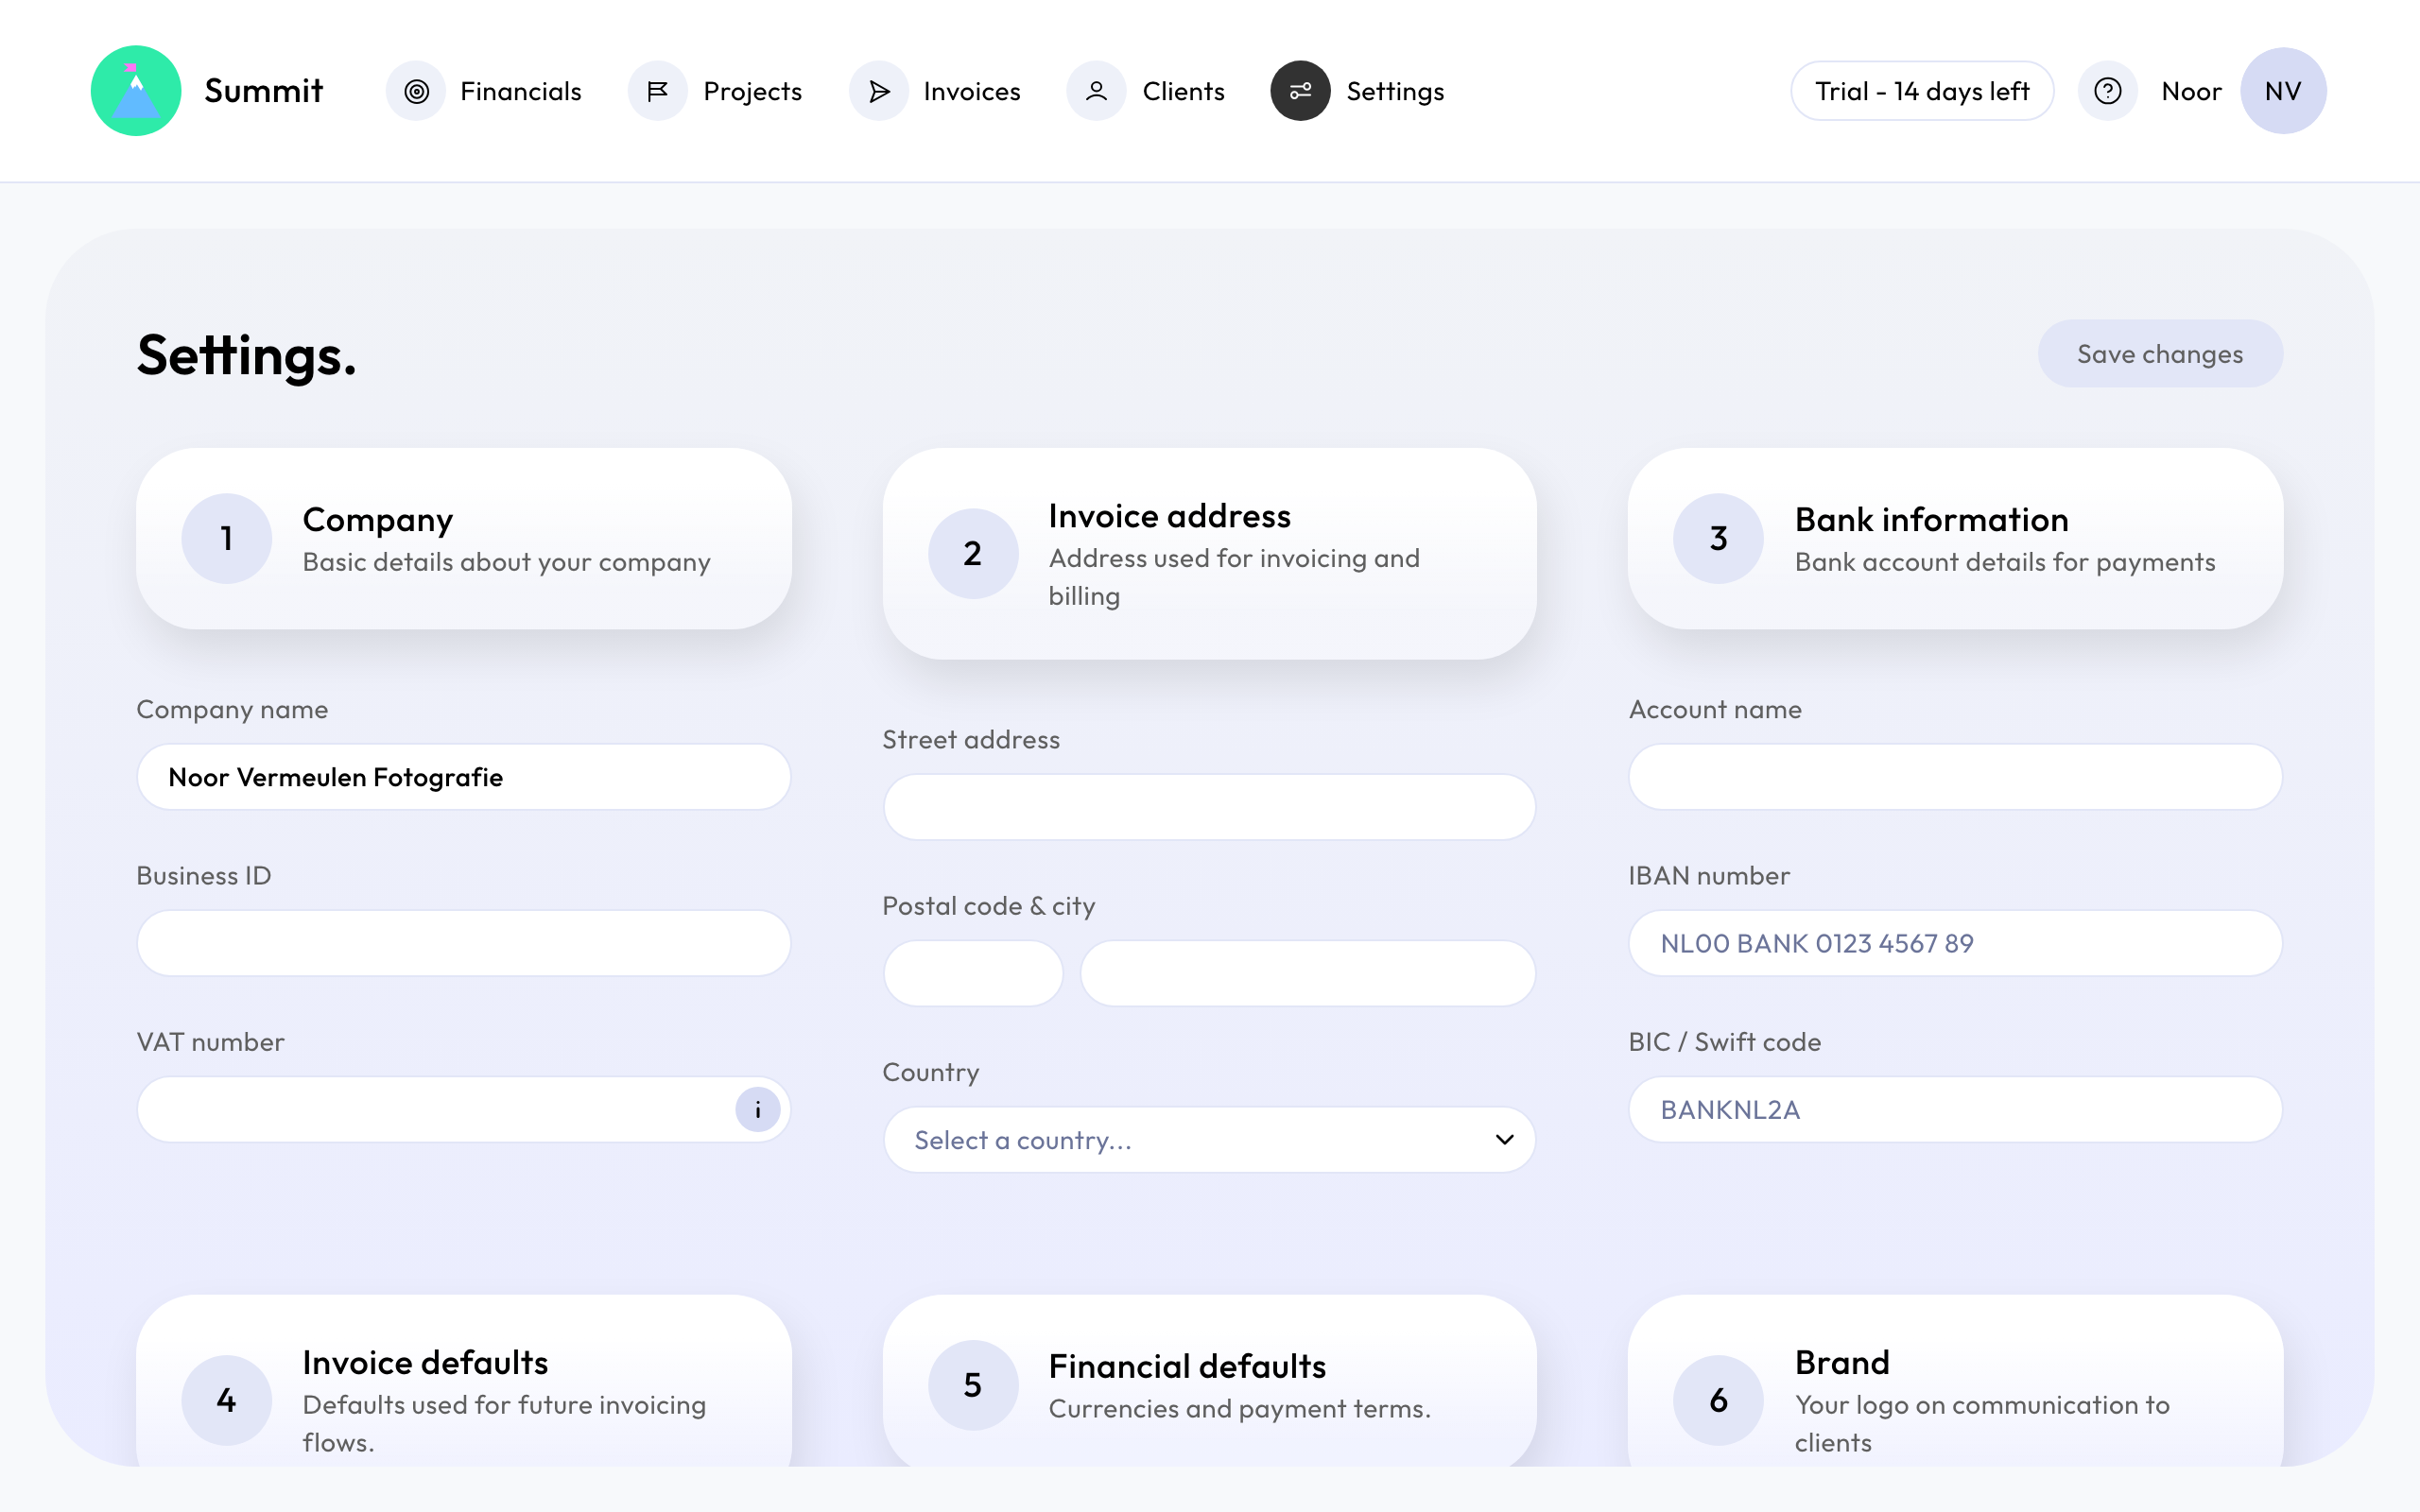
You can change all of this later in Settings. See Your company settings.
2. Create your first client
Who you invoice. Summit fills in what it can from your company details, such as the currency and payment terms. See Add a client.
3. Create your first project
What you agreed with that client. Pick how you invoice it, and Summit plans the invoices. See Choose a project type.
Each step needs the one before it: clients take their currency and payment terms from your company, and every project belongs to a client.
Ready to invoice
Once the first project is created as Signed, you're done. Its invoices appear on Invoices, and each one is ready to send from its date. See Review and send an invoice.
Team members you invite don't go through these steps. Until the owner has finished the company details, members see a short note that the company is being set up.